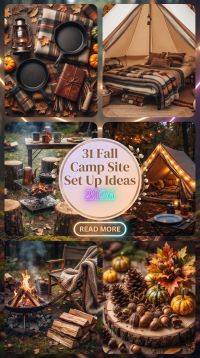
Welcome to your ultimate guide for creating the perfect fall camping setup that combines comfort, functionality, and autumn adventure. As the leaves change and the air turns crisp, camping takes on a whole new magical quality that deserves proper preparation and thoughtful design. This carefully curated collection features 31 innovative campsite setup ideas specifically tailored for the unique challenges and beauty of fall camping. From weather-resistant shelter configurations to cozy lighting solutions and efficient cooking stations, each concept is designed to enhance your outdoor experience. Discover how to stay warm, organized, and comfortable while surrounded by stunning fall foliage. Whether you’re a seasoned camper or planning your first autumn adventure, these expert inspirations will help you create a campsite that’s both practical and enchanting. Embrace the crisp mountain air and golden leaves with a campsite setup that makes every moment memorable.
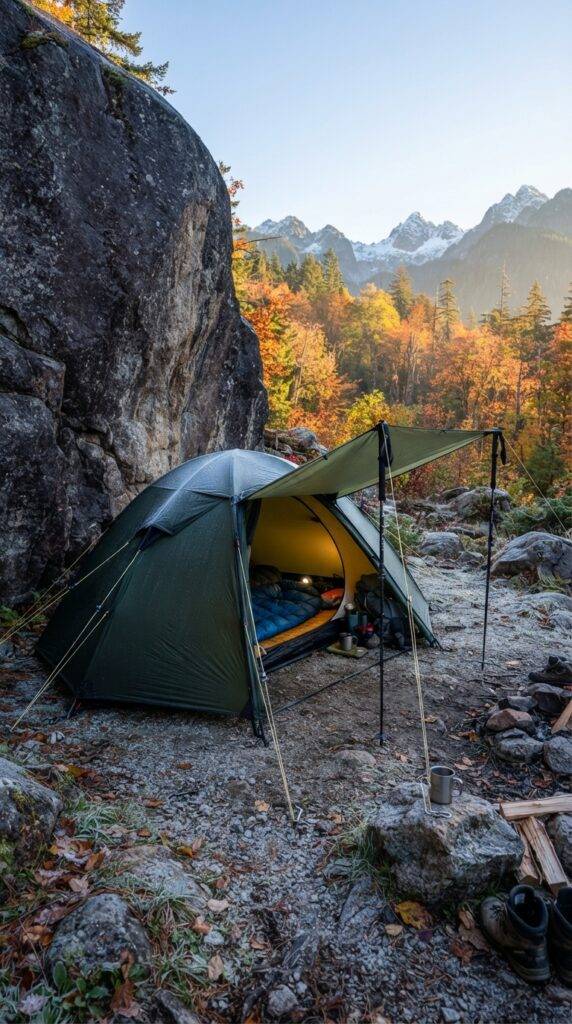
1. Windproof Tent Configuration with Vestibule
Set up your tent in a windproof configuration by positioning the smallest profile toward prevailing winds and utilizing natural windbreaks like boulders or dense trees. Create an extended vestibule area using a tarp and poles to provide additional covered space for gear storage and cooking during unpredictable fall weather. Stake down all guylines with extra reinforcement and use heavier stakes designed for fall’s potentially frozen ground conditions. The vestibule acts as a crucial buffer zone, keeping your sleeping area dry and warm while providing a covered space for morning coffee preparation. Orient the tent door away from wind direction and toward scenic fall foliage views when possible. This strategic setup ensures comfort and safety during crisp autumn nights.
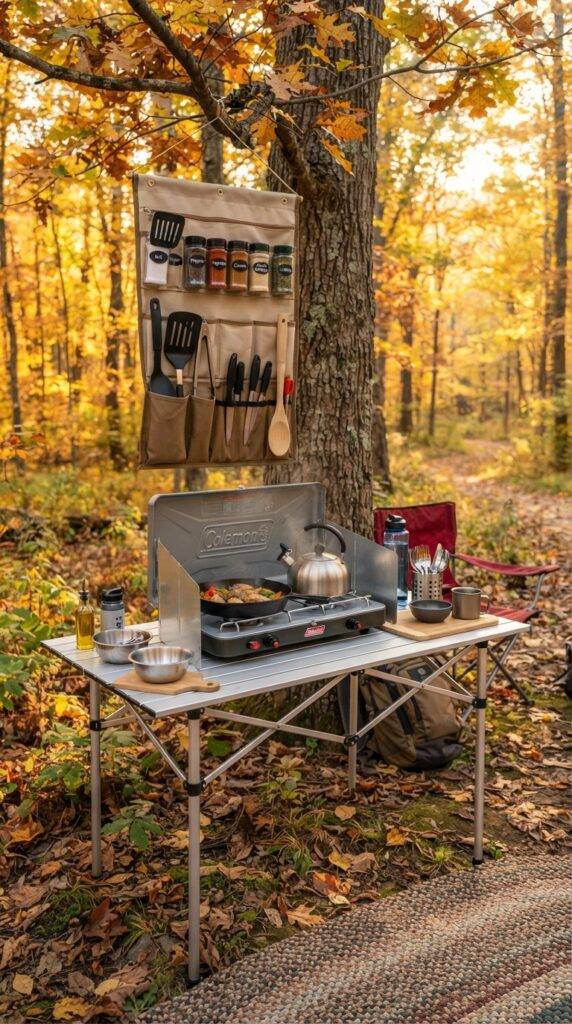
2. Elevated Cooking Station with Wind Shield
Create an elevated cooking station using a portable camp table or natural rock formations to keep food preparation off the cold, damp ground. Construct a three-sided wind shield using aluminum foil, reflective emergency blankets, or dedicated camping wind screens to protect your stove from fall gusts. Position the station downwind from your tent but within convenient reach for meal preparation. The elevation prevents moisture absorption and keeps cooking utensils clean while the wind shield ensures efficient fuel use and faster cooking times. Include a hanging organizer for spices and cooking essentials to keep everything accessible. This functional setup makes meal preparation enjoyable even in challenging fall conditions.
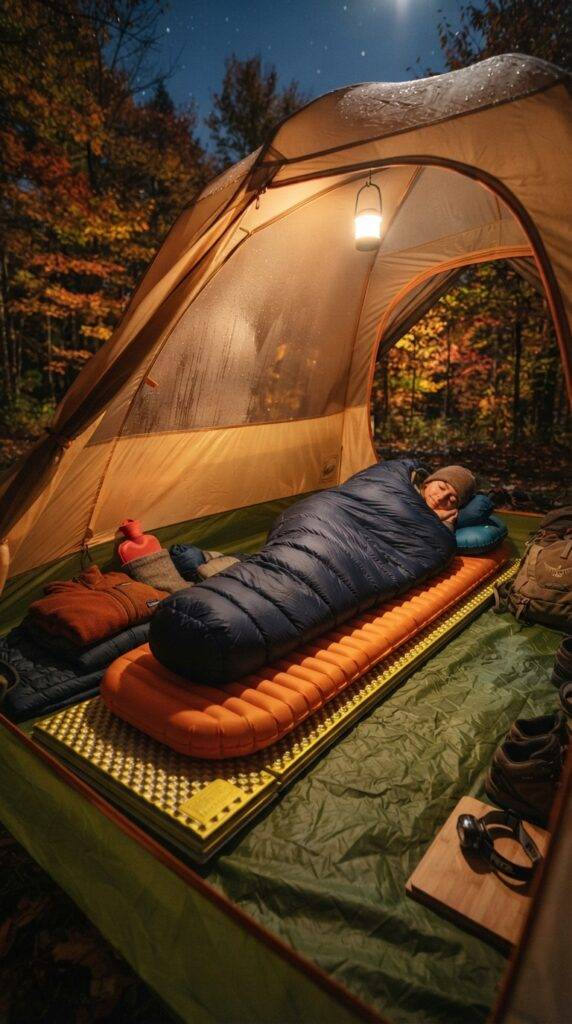
3. Multi-Layer Sleeping System for Cold Nights
Implement a multi-layer sleeping system combining a high R-value sleeping pad, cold-weather sleeping bag rated below expected temperatures, and a lightweight blanket liner for added warmth. Place the sleeping pad directly on tent floor with an additional foam pad underneath for insulation from cold ground. Use a sleeping bag liner to add 10-15 degrees of warmth while keeping your bag clean. Keep extra layers and a hot water bottle nearby for middle-of-the-night temperature drops common in fall camping. Store clothes you’ll wear tomorrow inside your sleeping bag to warm them overnight. This comprehensive system ensures restful sleep despite dropping autumn temperatures.
4. Strategic Fire Pit with Reflective Wall
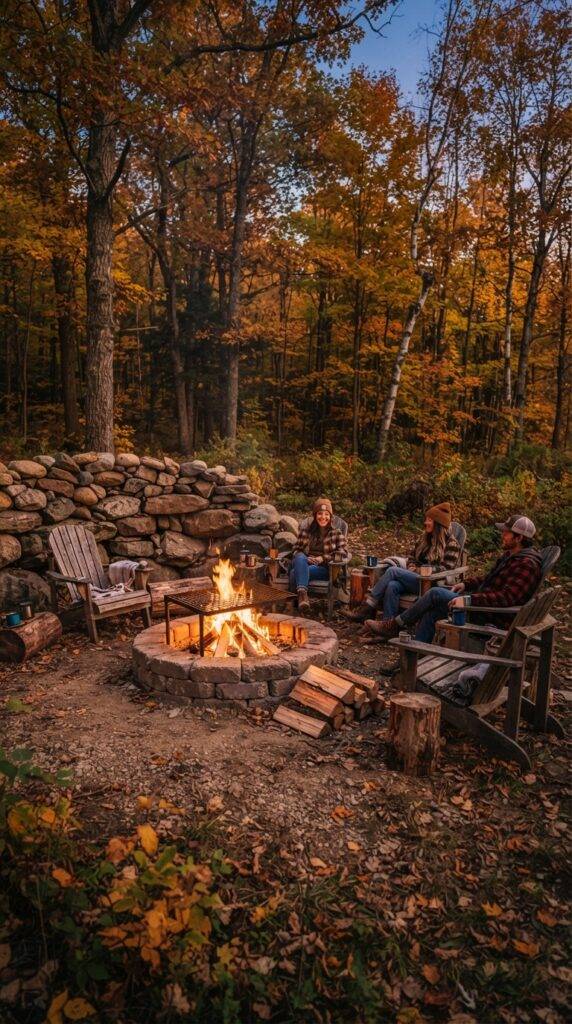
Build a strategic fire pit on elevated, dry ground away from overhanging branches and create a reflective wall using rocks or a reflective emergency blanket on the windward side. The reflective wall bounces heat back toward your seating area, maximizing warmth while minimizing fuel consumption. Arrange seating in a semi-circle facing the reflective surface for optimal heat distribution. Keep the fire pit at least 15 feet from your tent and any flammable materials. Gather extra firewood during daylight hours as fall evenings arrive earlier and wood may be damp. This efficient fire setup provides crucial warmth and ambiance during crisp autumn evenings.
5. Gear Organization with Color-Coded Dry Bags
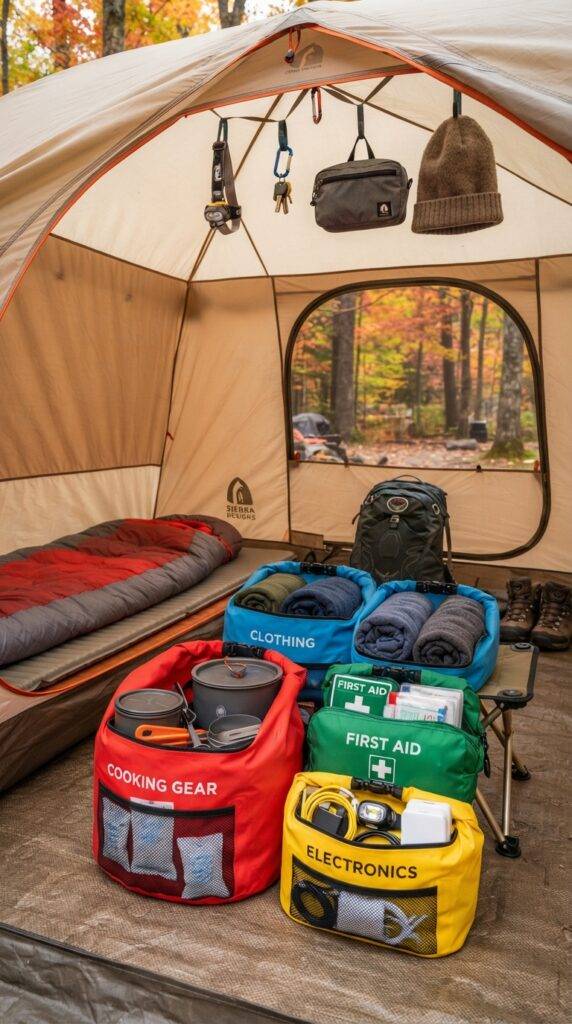
Implement a gear organization system using color-coded dry bags to keep essentials accessible and protected from fall moisture. Assign specific colors to categories: red for cooking gear, blue for clothing, green for first aid, and yellow for electronics. Stack bags strategically with frequently needed items on top and emergency supplies easily accessible. Hang dry bags from tent ceiling loops or tree branches to keep them off damp ground. Include moisture-absorbing packets in each bag to combat fall humidity and condensation. Label bags clearly for quick identification in low-light conditions common during shorter fall days. This system keeps gear organized, dry, and ready for unpredictable autumn weather.
6. Covered Dining Area with Tarp Shelter
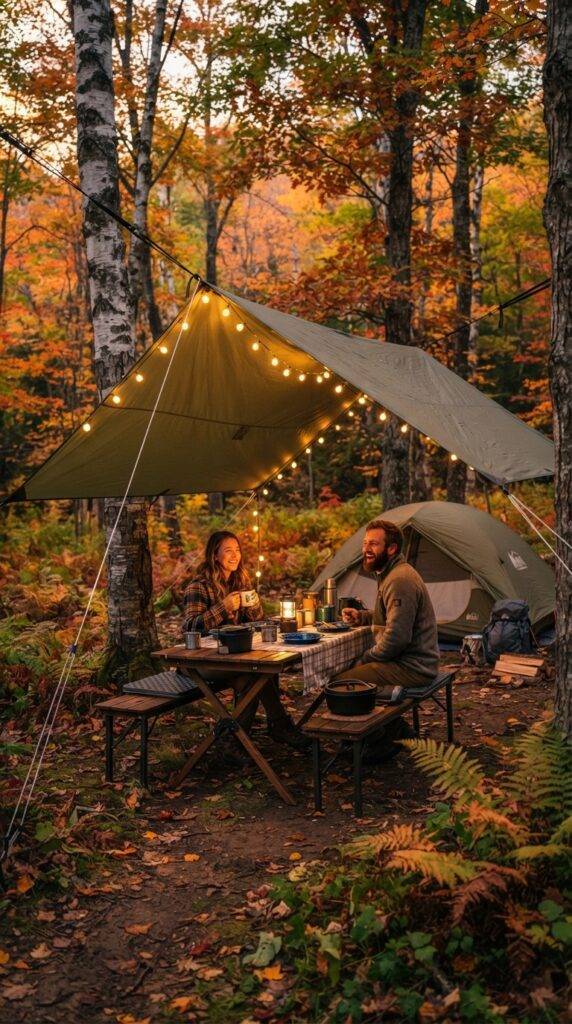
Construct a covered dining area using a large tarp stretched between trees or poles to create a weatherproof space for meals and socializing. Position the tarp at a slight angle to shed rain and snow while allowing smoke from cooking to escape. Secure all corners with adjustable tensioners to accommodate changing wind conditions common in fall. Hang battery-powered LED string lights underneath for evening ambiance and visibility. Include a foldable table and insulated seating to keep meals comfortable despite dropping temperatures. This sheltered space extends your camping comfort zone and provides a dry gathering spot during unpredictable autumn weather.
7. Insulated Water Storage System
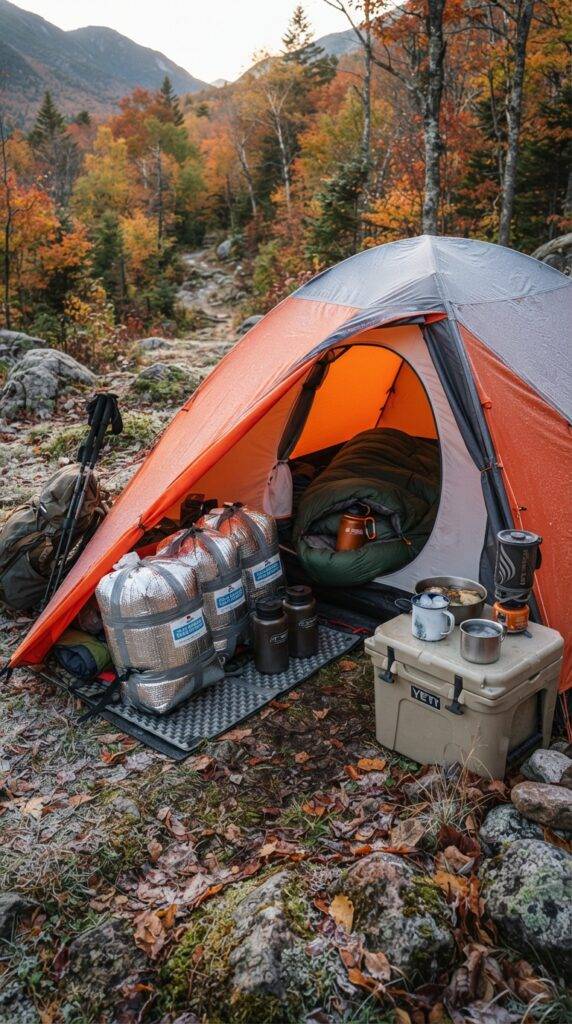
Set up an insulated water storage system using insulated containers or wrapping water jugs in reflective insulation to prevent freezing during cold fall nights. Position water containers inside your tent vestibule or sleeping area overnight to keep them from freezing. Use wide-mouth containers that won’t crack if ice does form. Keep a separate smaller water bottle inside your sleeping bag for nighttime hydration. Store cooking water in insulated coolers during the day to maintain liquid state. This proactive approach ensures you have accessible water throughout your fall camping adventure despite freezing temperatures.
8. Multi-Purpose Tarp Ground Cover
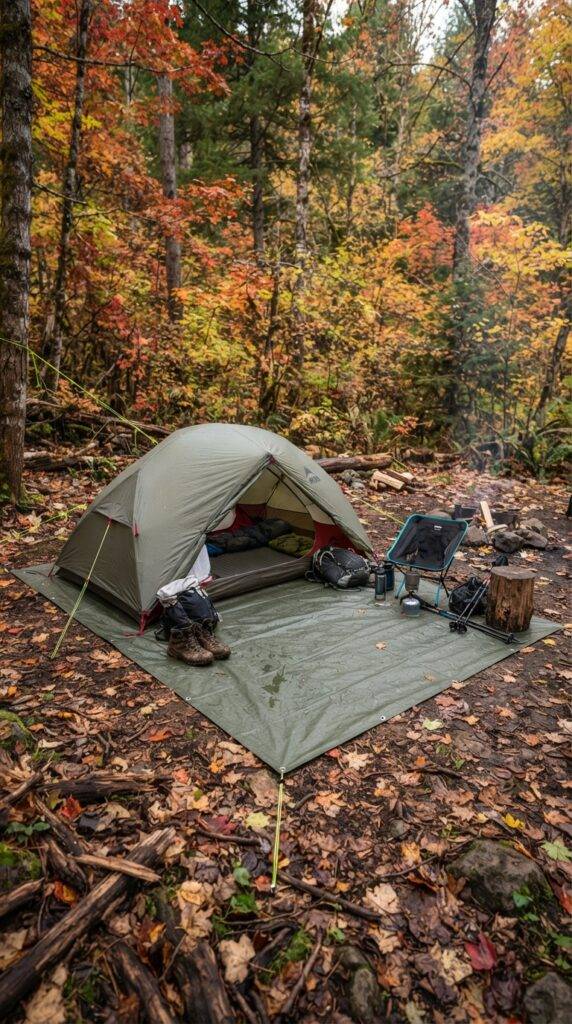
Deploy a multi-purpose tarp as ground cover beneath your tent, extending it beyond tent edges to create a dry gear staging area. Choose a tarp slightly smaller than your tent footprint to prevent water pooling between tarp and tent floor. Use the extra tarp material to create a covered entryway or gear storage zone. Secure edges with stakes and use tensioners to maintain proper drainage slope. The ground cover protects against moisture, sharp objects, and cold ground while providing versatile additional covered space. This simple addition significantly enhances comfort and extends your usable campsite area during damp fall conditions.
9. Strategic Lantern Placement for Maximum Light
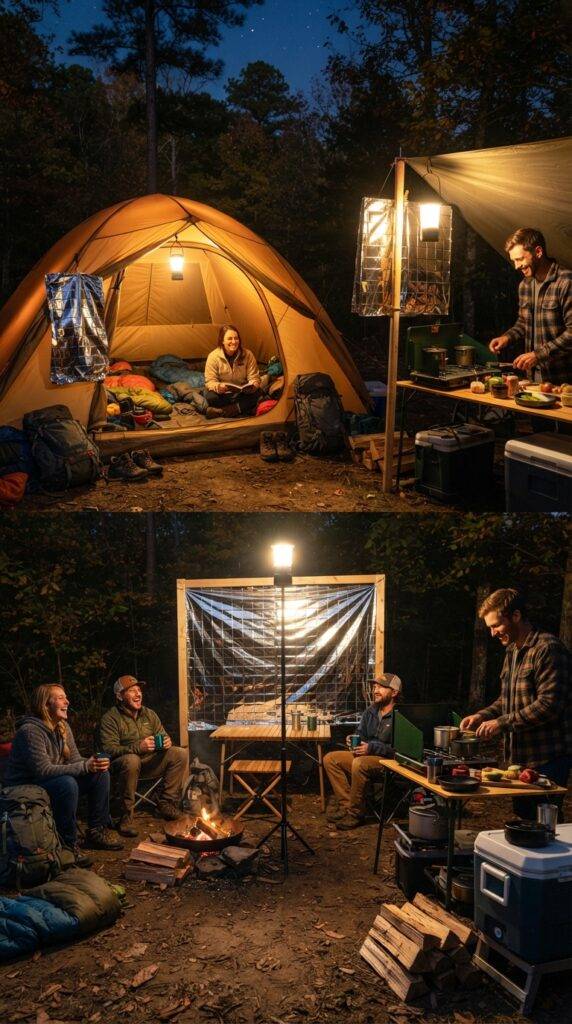
Position lanterns strategically throughout your campsite using hanging systems, reflective surfaces, and elevation to maximize light coverage while conserving battery life. Hang one lantern inside tent ceiling for interior illumination, another at cooking station at eye level, and a third in communal area at head height. Use reflective emergency blankets behind lanterns to amplify light output by up to 50%. Place lanterns at varying heights to reduce shadows and create even illumination. Include red-light mode lanterns to preserve night vision while maintaining safety. This thoughtful lighting plan ensures visibility and safety during longer fall nights.
10. Cold-Weather Clothing Layering Station
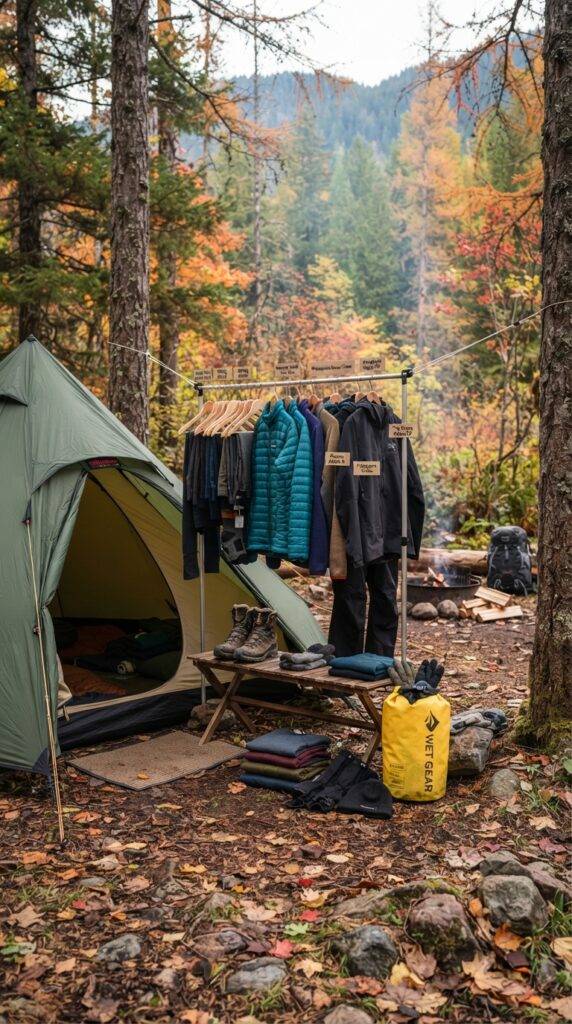
Establish a dedicated clothing layering station near your tent entrance using a portable hanging system or tree branch to organize base layers, insulating layers, and weatherproof shells. Arrange clothes in order of use with base layers most accessible and rain gear ready for quick access. Include a small bench or dry log for sitting while changing to avoid contact with cold, damp ground. Keep a dedicated dry bag for wet clothes to prevent moisture from spreading to dry gear. Position the station in a sheltered area protected from wind and precipitation. This organized system makes layering efficient and keeps you comfortable during variable fall temperatures.
11. Emergency Shelter Backup System
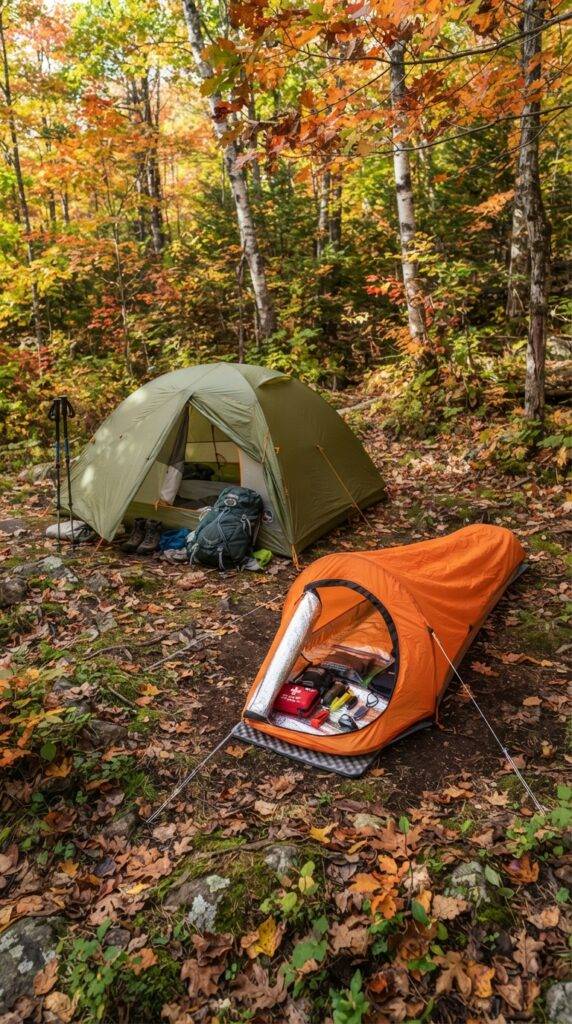
Prepare an emergency shelter backup system using a lightweight bivy sack or emergency space blanket shelter positioned near your main tent. Set up the backup shelter in a protected location that’s easily accessible but separate from your primary tent. Include emergency supplies like fire starters, extra food, and first aid kit inside the backup shelter. Ensure the emergency shelter is rated for worse conditions than your main tent for true redundancy. Practice setting up both shelters before your trip to ensure quick deployment if needed. This preparation provides crucial peace of mind during unpredictable fall weather conditions.
12. Efficient Camp Kitchen Triangle Layout
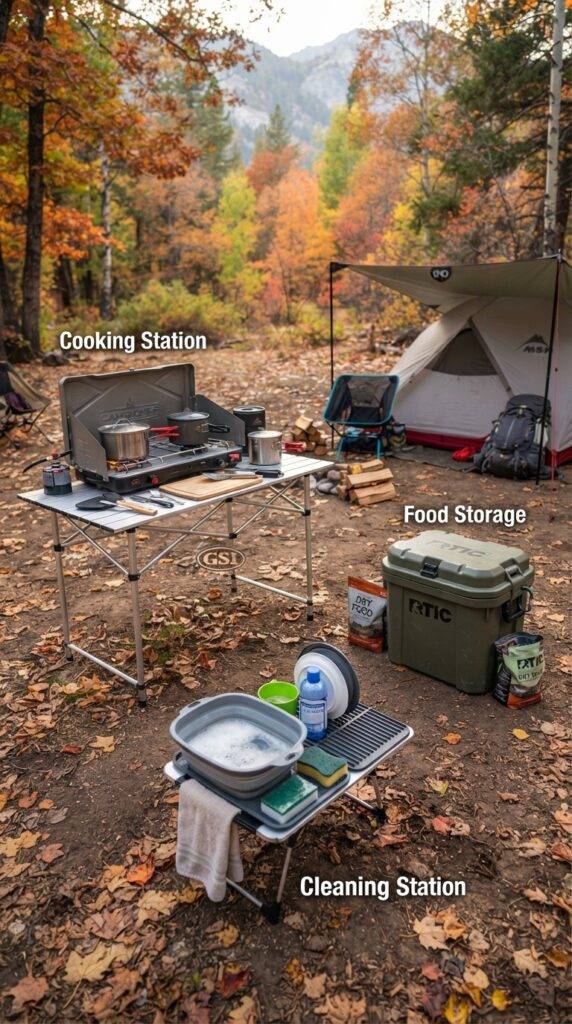
Design an efficient camp kitchen using the triangle layout principle with cooking station, food storage, and cleaning area positioned in a triangular pattern for maximum efficiency. Place the stove at one point with wind protection, food storage at second point in bear-safe container or hung system, and cleaning station at third point with biodegradable soap and wash basins. Keep the triangle compact enough to minimize steps but spread enough to prevent cross-contamination. Include a dedicated trash collection point outside the triangle. This layout minimizes movement in cold weather while maintaining food safety and cooking efficiency during fall camping.
13. Moisture Management Ventilation System
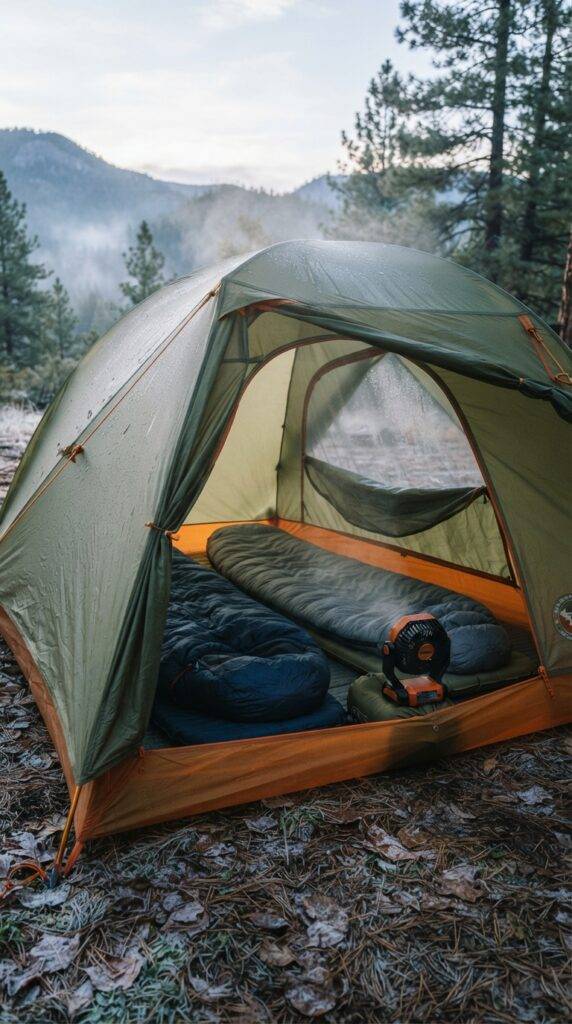
Implement a moisture management system by strategically opening tent vents on the leeward side while keeping windward vents closed to prevent condensation buildup. Position sleeping bags away from tent walls to reduce condensation transfer. Use a small battery-powered fan to circulate air if condensation becomes problematic. Cook outside the tent whenever possible to prevent moisture from breathing and cooking accumulating inside. Shake out sleeping bags each morning to remove frost or moisture. This ventilation strategy keeps your sleeping area dry and comfortable during humid fall conditions.
14. Wildlife-Safe Food Storage Configuration
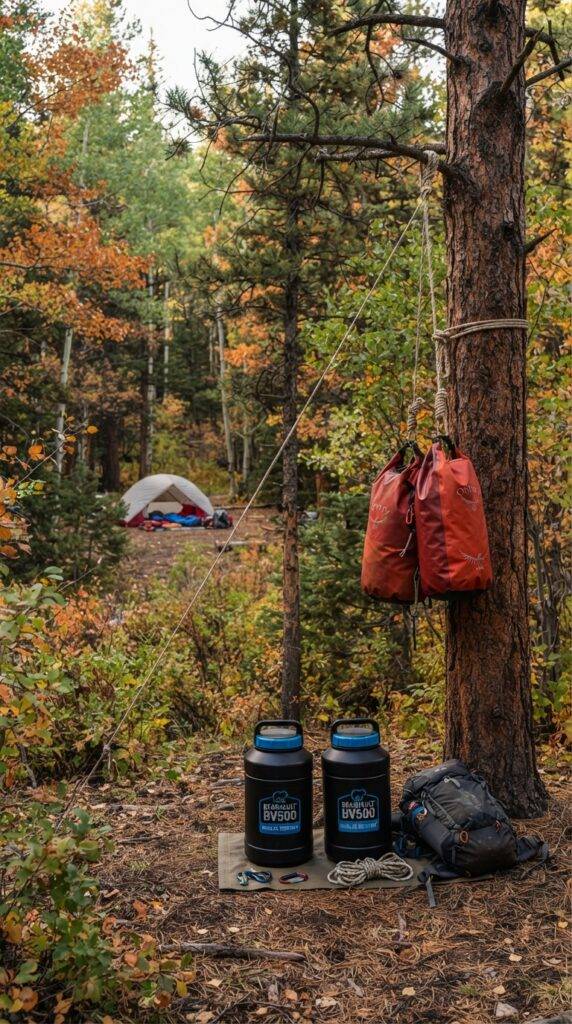
Set up wildlife-safe food storage using bear-resistant canisters or hanging systems positioned at least 100 yards from your sleeping area. For hanging systems, use the counterbalance method with two bags suspended 12 feet high and 6 feet from tree trunks. Include all scented items including toiletries, trash, and cooking clothes in the storage system. Mark the storage location clearly so you can find it in darkness. Check local regulations for required storage methods in your camping area. This crucial setup protects both you and wildlife during fall when animals are actively foraging.
15. All-Weather Footwear Drying Station
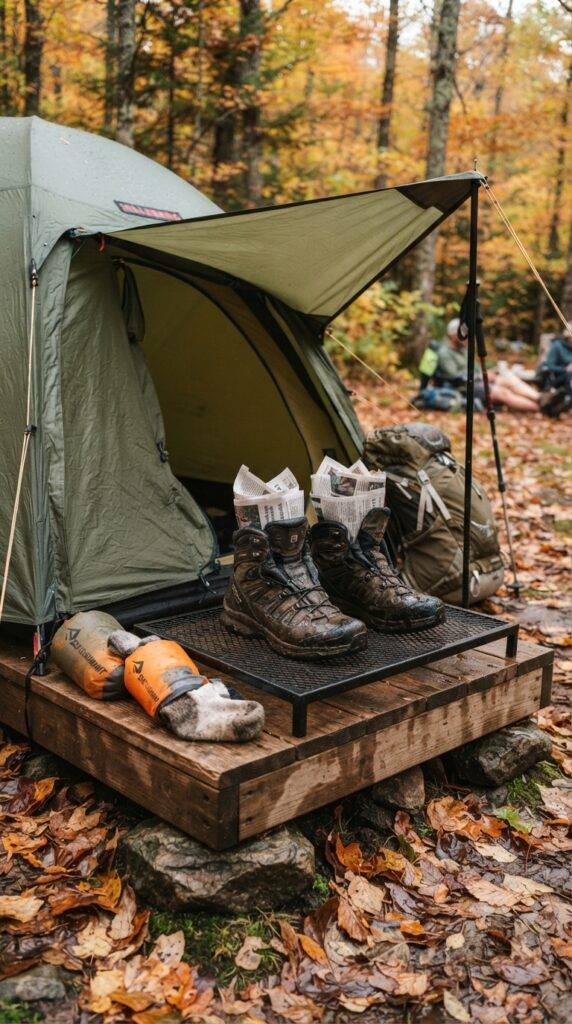
Create an all-weather footwear drying station using a mesh drying rack or elevated platform positioned near but not inside your tent. Place wet boots and shoes on the rack with absorbent material like newspaper or specialized boot dryers inside to accelerate drying. Position the station in a sheltered area with some airflow but protected from direct precipitation. Never place wet footwear inside your tent as moisture will create condensation problems. Include extra dry socks in waterproof bags near the drying station for easy access. This system ensures dry footwear for each day’s adventures despite fall’s damp conditions.
16. Portable Privacy Screen Setup
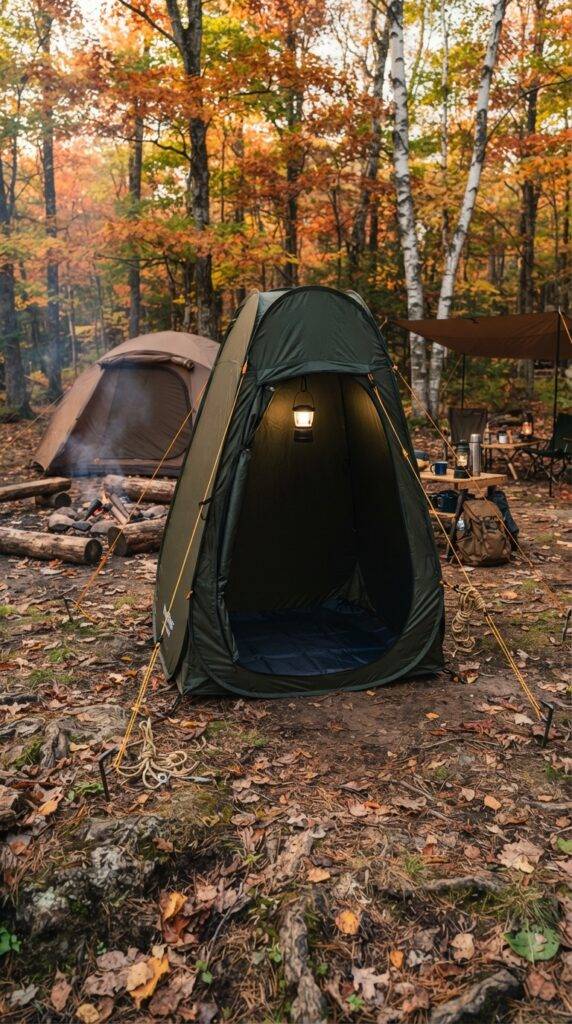
Install a portable privacy screen using a pop-up privacy tent or tarp system positioned near your main campsite for changing and personal hygiene. Position the screen to block wind while providing easy access from your tent. Include a small ground cloth inside to keep the area dry and clean. Hang a small LED lantern inside for visibility during early morning or evening use. Secure the structure against fall winds with extra stakes and guylines. This simple addition significantly improves comfort and convenience during multi-day fall camping trips.
17. Multi-Fuel Stove Redundancy System
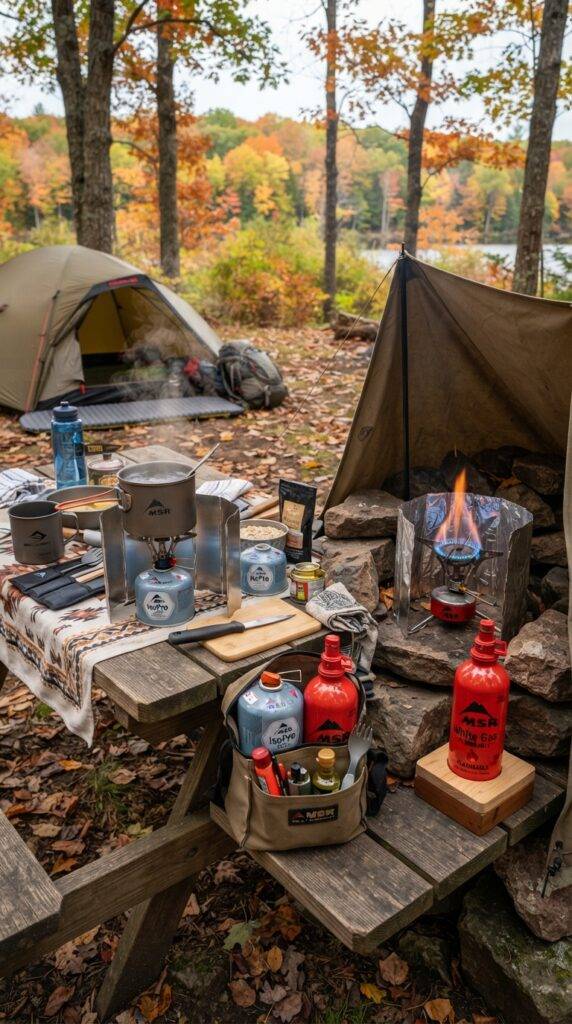
Prepare a multi-fuel stove redundancy system by bringing both a canister stove and a liquid fuel stove or alcohol stove as backup. Position the primary stove at your main cooking station with the backup stove in an accessible but protected location. Store fuel for each stove type separately and clearly labeled to prevent confusion. Practice using both stove types before your trip to ensure proficiency in emergency situations. Include wind screens compatible with both stove types for efficient operation in fall winds. This redundancy ensures you can cook meals even if your primary stove fails in remote fall conditions.
18. Comfortable Camp Seating Arrangement
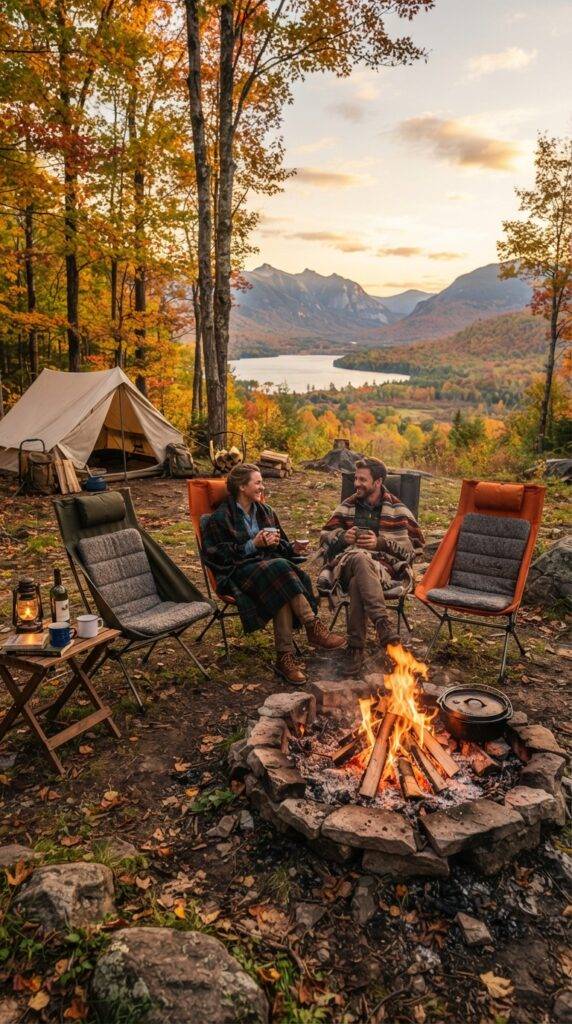
Arrange comfortable camp seating using portable camp chairs, insulated sitting pads, or natural log seating positioned around your fire pit and cooking area. Choose chairs with backs for support during longer sitting periods common in fall camping. Include insulated seat pads to prevent heat loss to cold ground. Position seating to face the fire or scenic fall views while staying upwind from cooking smoke. Keep seating close enough for conversation but far enough from fire for safety. Add small side tables or flat rocks for placing drinks and snacks. This thoughtful arrangement maximizes comfort during crisp autumn evenings around the campfire.
19. Efficient Dish Washing Station
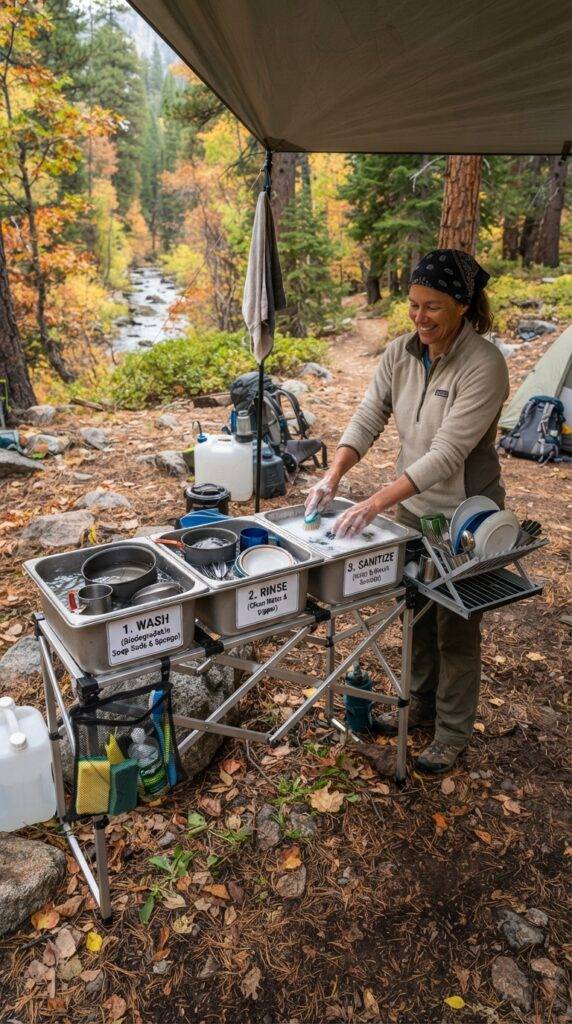
Establish an efficient dish washing station using a three-basin system with wash, rinse, and sanitize containers positioned downhill and 200 feet from water sources. Use biodegradable soap in the wash basin, clean water for rinsing, and a sanitizing solution for final rinse. Hang dishes on a portable drying rack or clean rope line to air dry completely before storage. Strain food particles from wash water and pack out with trash to prevent attracting wildlife. Position the station in a sheltered area protected from wind. This systematic approach maintains hygiene while protecting the environment during fall camping.
20. Weather-Protected Gear Storage Zone
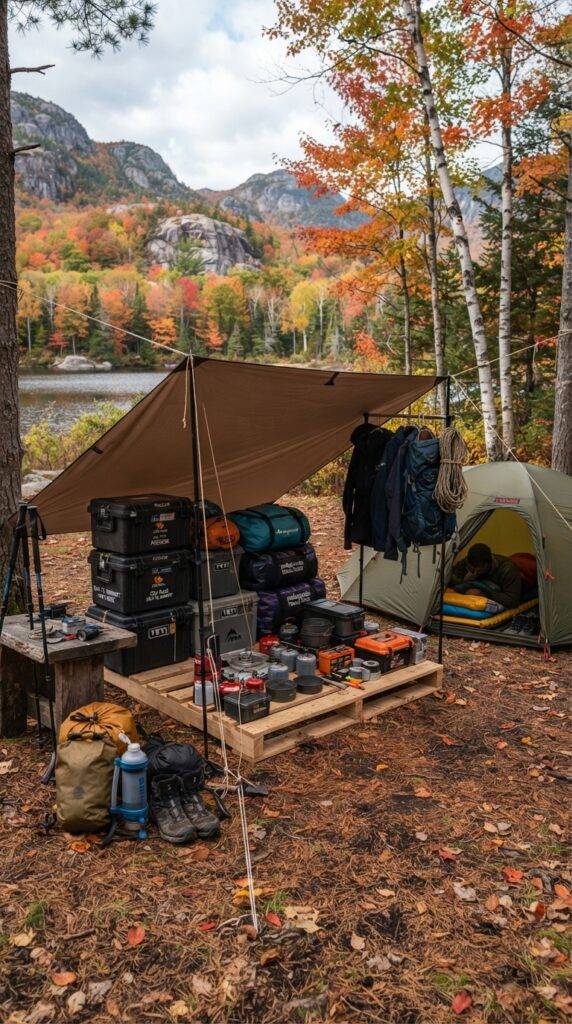
Create a weather-protected gear storage zone using a dedicated tarp shelter or gear shed positioned near your tent but separate from sleeping area. Organize gear by frequency of use with daily essentials most accessible and emergency supplies clearly marked. Use waterproof containers or dry bags for all gear storage to protect against fall moisture and condensation. Elevate gear off the ground using pallets, logs, or gear lofts to prevent moisture absorption. Include a small tool kit and repair supplies in an easily accessible location. This organized system keeps gear dry, accessible, and protected during unpredictable autumn weather.
21. Navigation and Communication Station
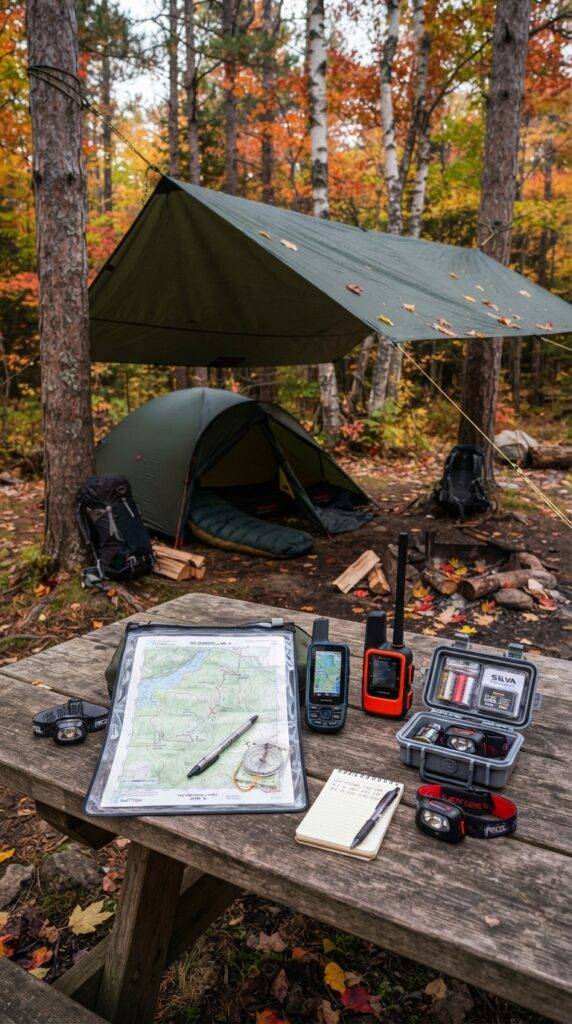
Set up a navigation and communication station at a central location in your camp using a waterproof map case, compass, GPS device, and emergency communication device. Position the station under shelter to protect electronics from moisture while keeping them accessible. Include backup batteries, headlamps, and written emergency contacts in waterproof containers. Mark your campsite location clearly on maps and GPS devices. Test all communication devices before relying on them in remote fall conditions. Keep the station organized so any group member can quickly access navigation tools in emergencies. This preparation ensures safety during shorter fall days and unpredictable weather.
22. Insulated Water Heating System
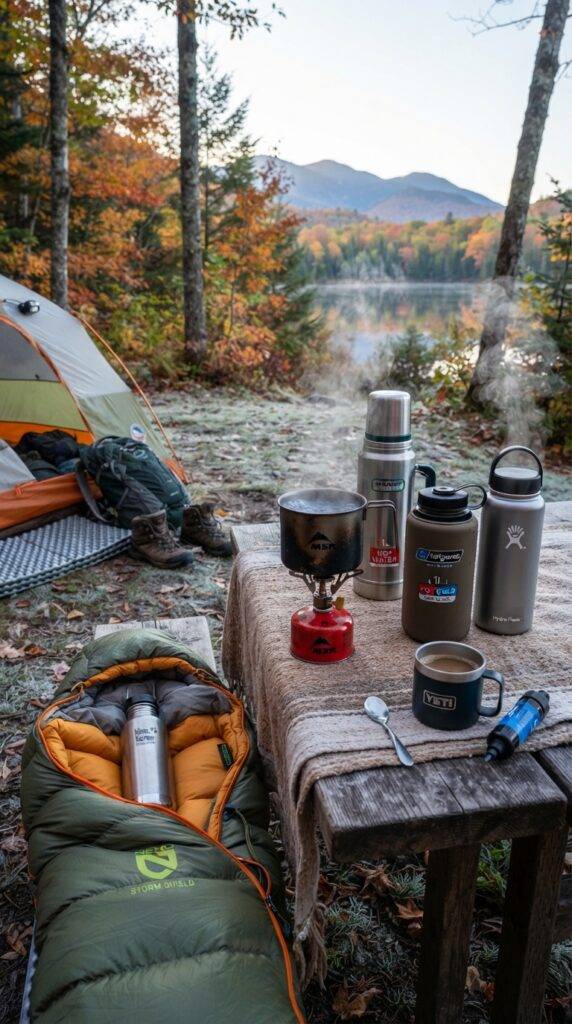
Implement an insulated water heating system using a thermos or insulated container to keep water hot for morning coffee, evening tea, and meal preparation. Heat water on your stove and immediately transfer to insulated containers to maintain temperature for hours. Keep one insulated bottle inside your sleeping bag overnight for warm morning drinks without leaving your bag. Use wide-mouth containers that won’t crack if water does freeze. Include a small pot for heating additional water as needed throughout the day. This system provides crucial warm beverages that boost morale and body temperature during cold fall camping mornings.
23. Campsite Perimeter Safety Markers
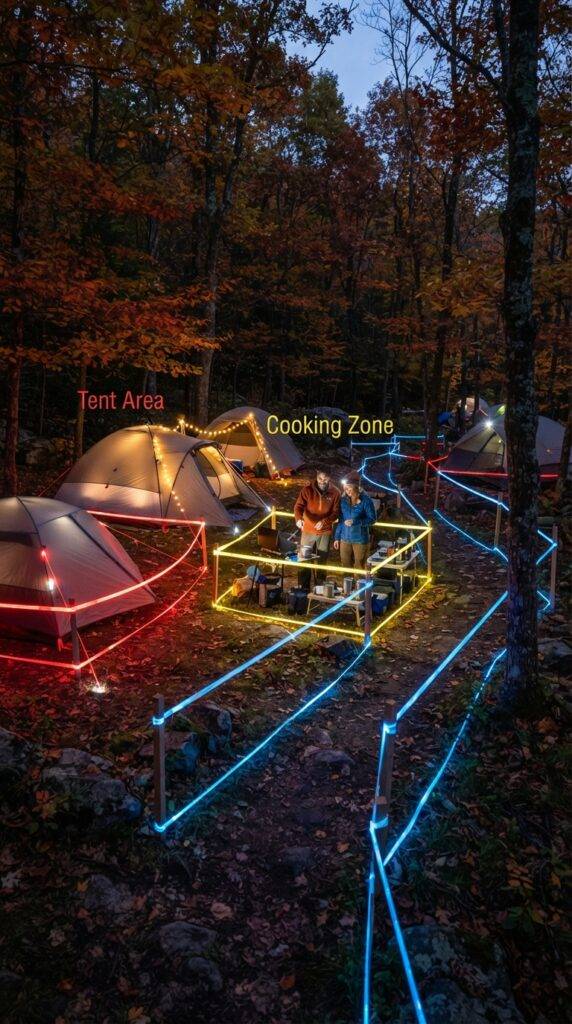
Install campsite perimeter safety markers using reflective tape, glow sticks, or reflective paracord strung between trees at knee and waist height around your campsite perimeter. Position markers to define tent areas, cooking zones, and pathways clearly visible in low light. Use different colors to indicate different zones: red for tent area, yellow for cooking, blue for pathways. Check markers each evening and replace any that have failed. Include reflective markers on guy lines and tent corners to prevent tripping. This simple system prevents accidents during longer fall nights and early morning darkness.
24. Efficient Firewood Management System
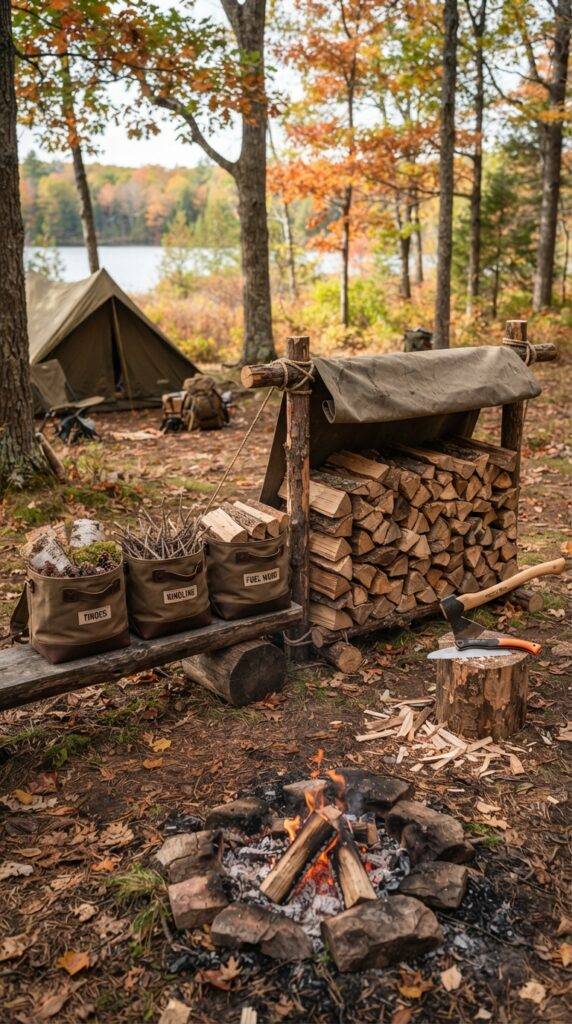
Create an efficient firewood management system by gathering and organizing wood in three categories: tinder, kindling, and fuel wood, each stored in separate waterproof containers or under dedicated tarps. Position the wood storage upwind from your fire pit but close enough for easy access. Keep tinder and kindling in completely waterproof containers as these are critical for starting fires in damp fall conditions. Stack fuel wood in a stable, covered pile that won’t collapse in wind or rain. Include a small axe or saw for processing wood as needed. This organization ensures quick, efficient fire starting even in challenging fall weather.
25. Comfortable Sleeping Platform Setup
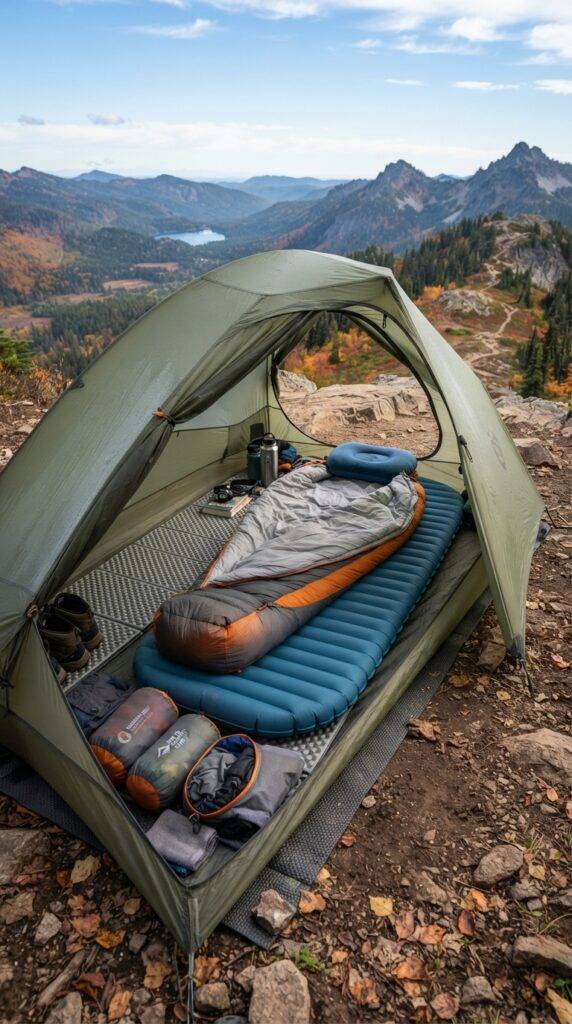
Build a comfortable sleeping platform using sleeping pads, foam insulation, or natural materials like pine boughs to create insulation between you and the cold ground. Layer a closed-cell foam pad directly on tent floor, topped with an inflatable sleeping pad for comfort. Add a sleeping bag liner for extra warmth and cleanliness. Position your sleeping platform on the highest, flattest ground available to avoid cold air pooling and water runoff. Keep sleeping gear in waterproof stuff sacks during the day to prevent moisture absorption. This layered approach ensures warm, comfortable sleep despite cold fall ground temperatures.
26. Emergency Weather Shelter Configuration
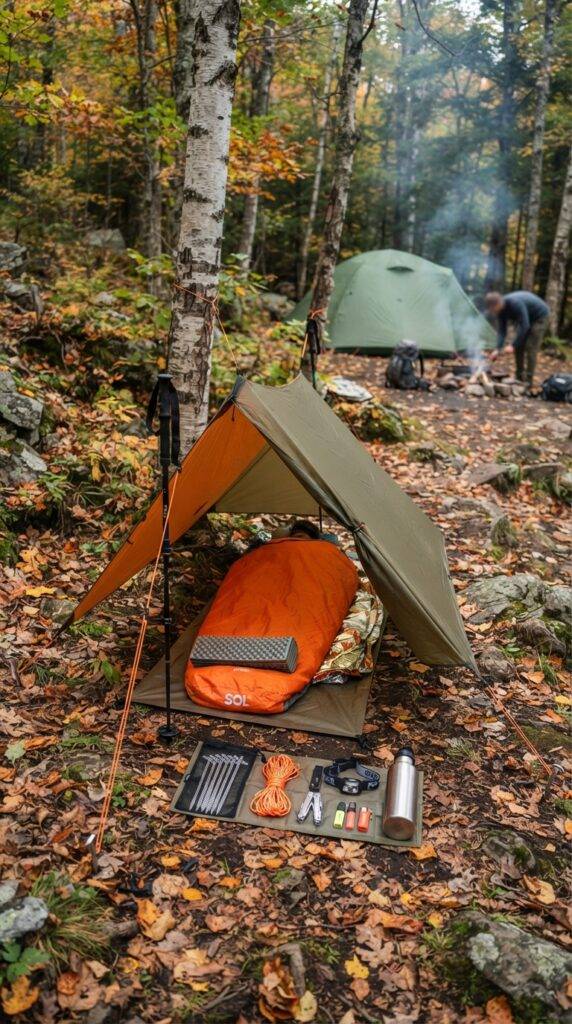
Prepare an emergency weather shelter configuration using a lightweight tarp, emergency bivy, or space blanket that can be quickly deployed if weather deteriorates rapidly. Position the emergency shelter materials in an easily accessible location separate from your main tent. Practice setting up the emergency shelter before your trip to ensure quick deployment. Include extra stakes, cordage, and tools needed for rapid setup in the same location. Choose a shelter location that’s protected from wind and water runoff but visible from your main camp. This preparation provides crucial protection during sudden fall storms or if your main shelter fails.
27. Organized Tool and Repair Station
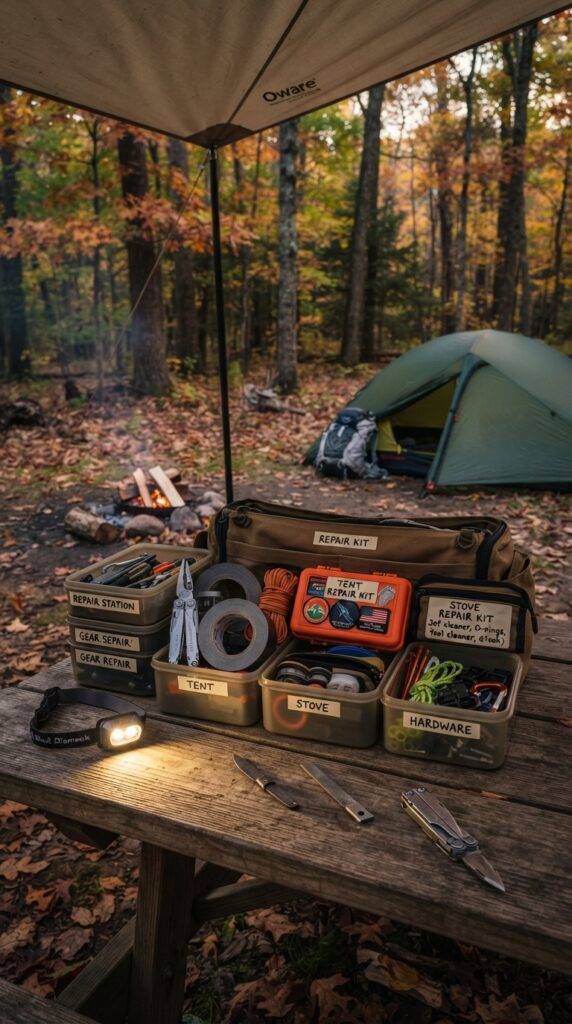
Establish an organized tool and repair station using a dedicated container or hanging system with multi-tool, duct tape, cordage, tent repair kit, stove repair kit, and spare parts. Position the station in a sheltered, easily accessible location protected from moisture. Organize tools by frequency of use with most common repairs most accessible. Include a small work surface like a flat rock or portable table for repairs. Keep a headlamp or lantern nearby for evening repairs during shorter fall days. Label containers clearly so any group member can find needed tools quickly. This organization ensures quick repairs that prevent small problems from becoming trip-ending emergencies.
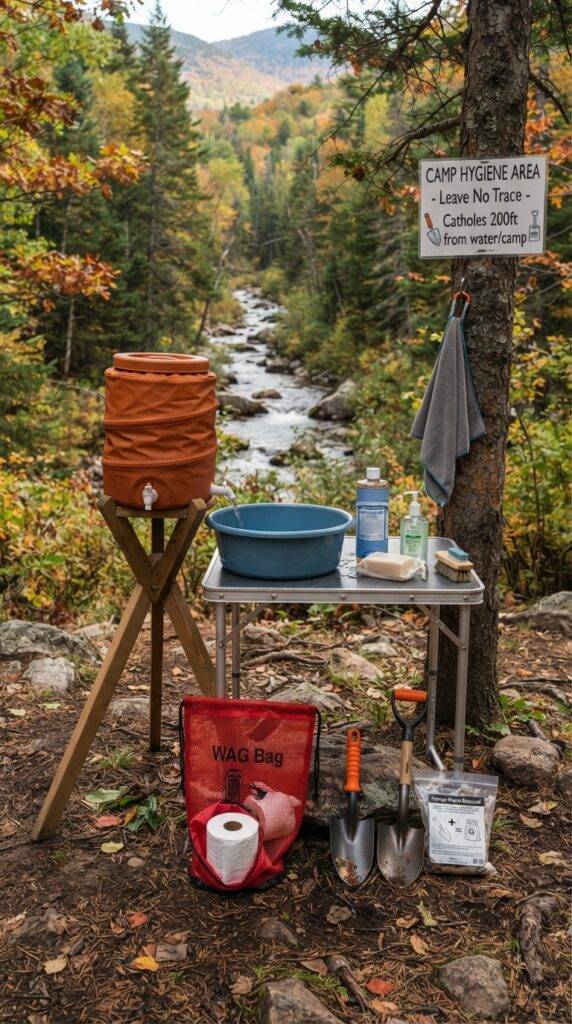
28. Camp Hygiene and Sanitation Area
Designate a camp hygiene and sanitation area positioned 200 feet downhill from water sources and cooking areas with biodegradable soap, wash basins, hand sanitizer, and waste disposal supplies. Include a small trowel for digging catholes 6-8 inches deep for human waste, positioned at least 200 feet from water, trails, and camp. Pack out all toilet paper and hygiene products in sealed bags. Provide a hand washing station with biodegradable soap and clean water before meals. Include feminine hygiene products disposal bags if needed. This designated area maintains hygiene while protecting the environment during fall camping.
29. Efficient Meal Preparation Timeline Station
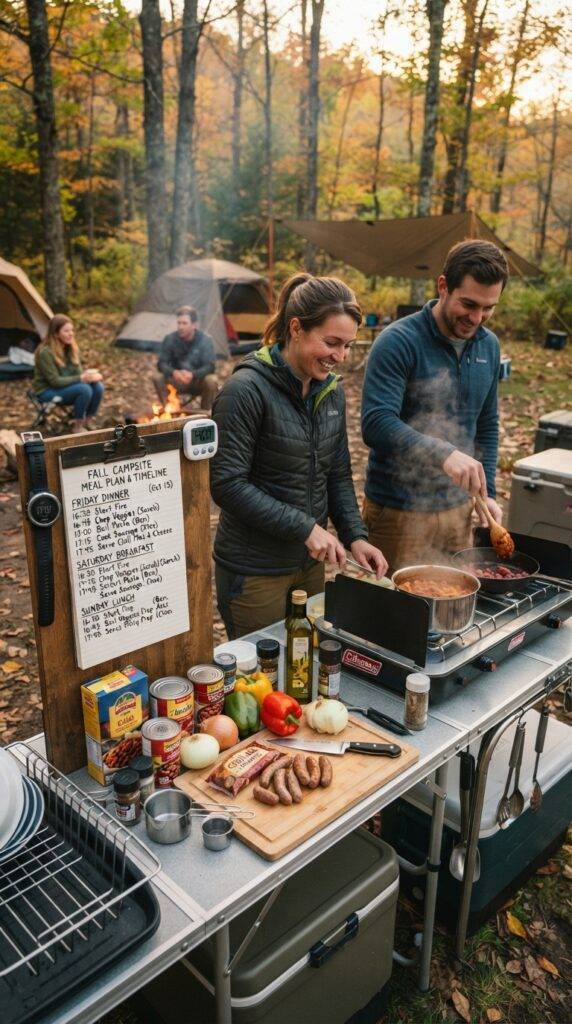
Create an efficient meal preparation timeline station with a waterproof notepad or whiteboard displaying meal schedule, prep times, and cooking assignments for your group. Position the station at your cooking area where it’s visible to all group members. Include a watch or timer for coordinating meal preparation with limited daylight hours common in fall. List ingredients needed for each meal with quantities to prevent waste. Note any special dietary requirements or preferences. Update the board daily based on weather conditions and group energy levels. This organization ensures efficient meal preparation during shorter fall days when cooking in darkness is challenging.
30. Comfortable Evening Relaxation Zone
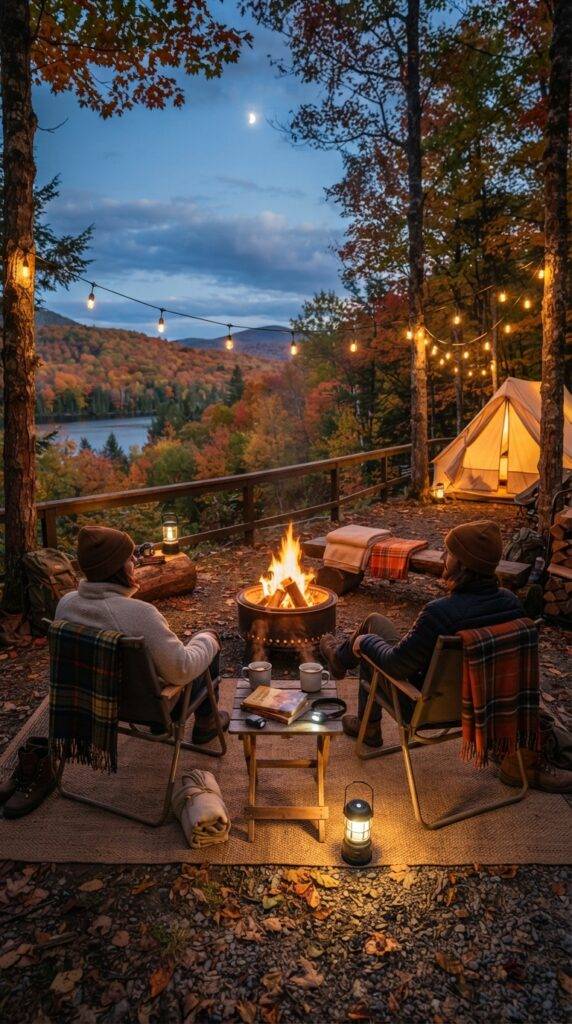
Design a comfortable evening relaxation zone separate from cooking and sleeping areas using camp chairs, insulated pads, or natural seating positioned around your fire pit or scenic viewpoint. Add battery-powered lanterns or string lights for ambient lighting during longer fall evenings. Include a small table for hot drinks, books, or games. Position seating to face the fire or scenic fall foliage views while staying upwind from smoke. Keep extra blankets or sleeping bags nearby for added warmth as temperatures drop after sunset. This dedicated relaxation space encourages group bonding and appreciation of fall’s natural beauty after active days.
31. Comprehensive Camp Breakdown System
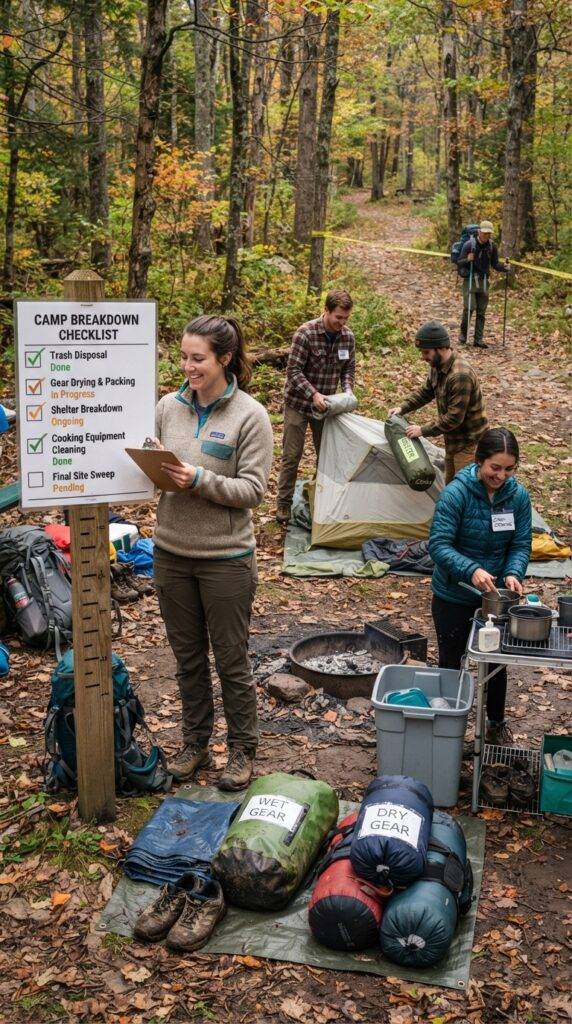
Implement a comprehensive camp breakdown system with a checklist and designated packing order to ensure nothing is left behind and gear is packed efficiently for the journey home. Create categories: trash and waste disposal, gear drying and packing, shelter breakdown, cooking equipment cleaning, and final site inspection. Assign specific responsibilities to each group member to speed the process. Include a final sweep of the entire campsite area including a 50-foot perimeter to find any small items. Pack wet gear separately from dry gear to prevent moisture damage during transport. This systematic approach ensures Leave No Trace principles are followed and all gear returns home safely after your fall camping adventure.
These 31 fall campsite setup ideas for 2026 provide comprehensive guidance for creating comfortable, functional, and safe camping experiences during the beautiful autumn season. Each concept addresses the unique challenges of fall camping including colder temperatures, shorter days, unpredictable weather, and the need for efficient organization. By implementing these expert strategies, you’ll be prepared for everything from windproof shelter configurations to moisture management systems and emergency preparedness. Whether you’re a seasoned camper or planning your first fall adventure, these practical ideas will enhance your outdoor experience while keeping you safe and comfortable. Use these inspirations to plan your next autumn camping trip and create memories surrounded by stunning fall foliage. Your perfect fall camping adventure awaits with these expert-curated setup concepts for cozy, functional, and memorable outdoor experiences.